

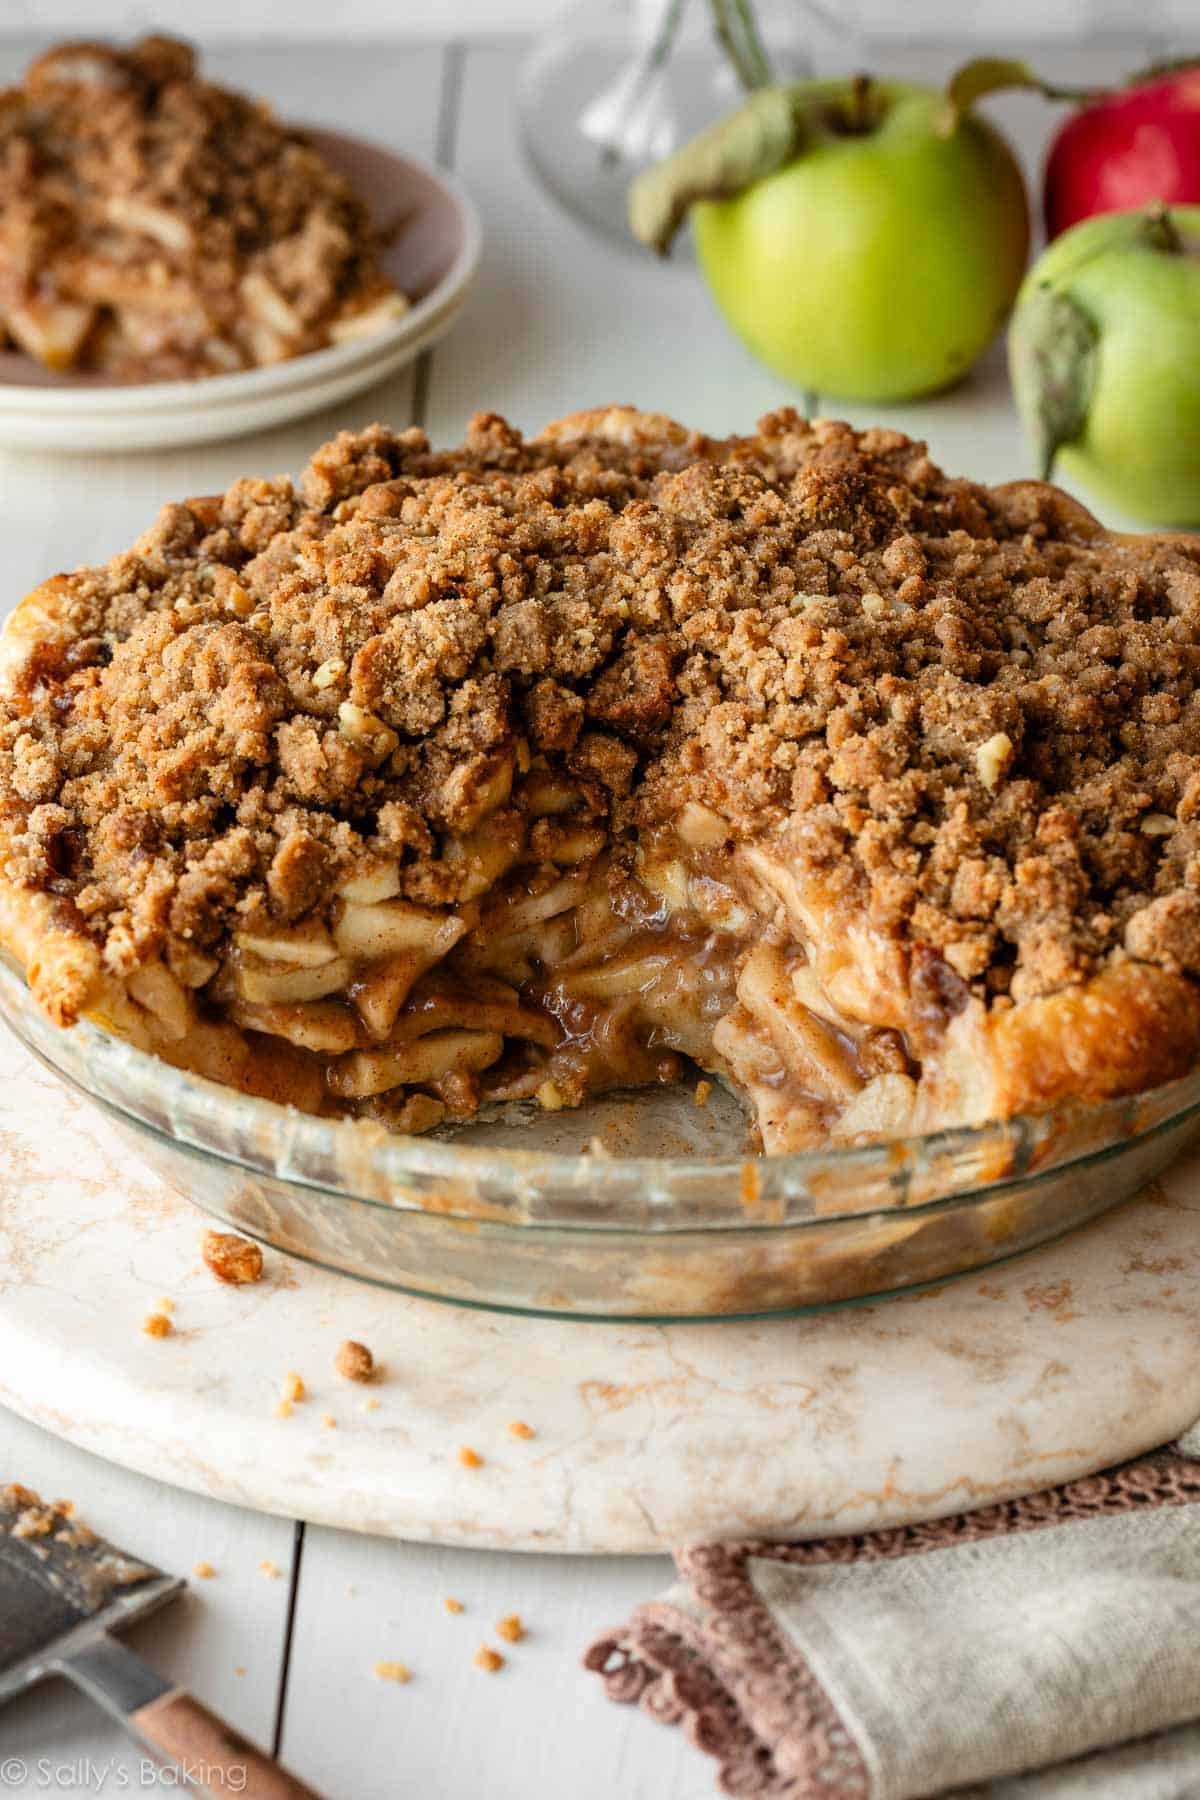
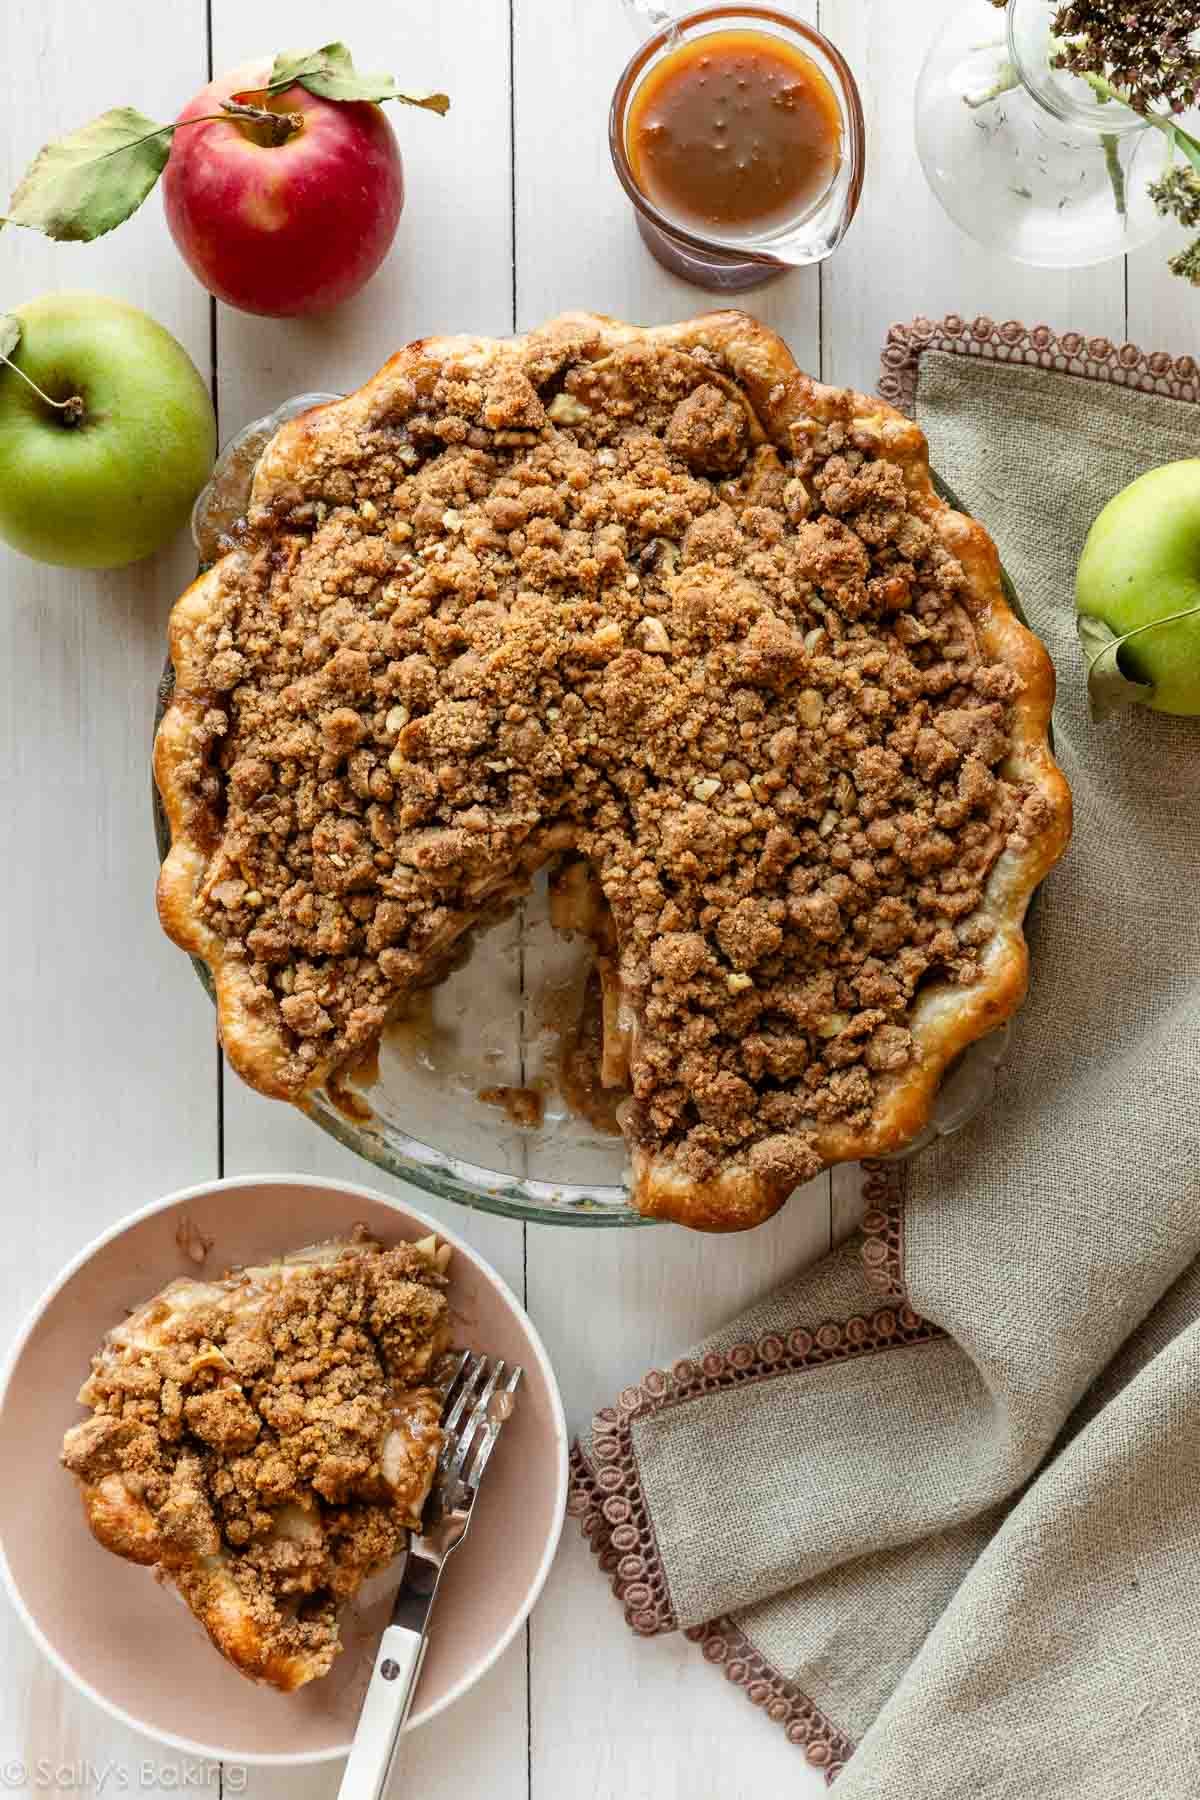
Today we’re making a variation of classic apple pie, but instead of a top crust, we’re piling on a thick, buttery brown sugar crumble. This apple crumble pie is the definition of fall comfort, and you don’t need to fuss with a decorative pie crust on top.
I originally published this recipe in 2015 and have since added new photos and a few more success tips.
Today we’re giving classic apple pie a twist—same cozy flavors, but instead of a top crust, we’re piling on a thick, buttery brown-sugar crumble. This apple crumble pie is pure fall comfort, and bonus: no need to fuss with a decorative top crust.
Homemade pie is my all-time favorite dessert, and if you’ve made my classic apple pie before, this one will feel very familiar: warm spices, a mountain of apples, and a buttery crust… just a little easier, thanks to that crumble topping.
This version captures everything you love about a traditional double-crust apple pie, but with a crunchy-tender walnut crumble topping that makes it especially perfect for your Thanksgiving spread.
Today’s Apple Crumble Pie:
- Has a buttery, flaky crust
- Has a rich apple filling that’s juicy, compact, sweet, and cinnamon-spiced
- Is topped with a brown-sugary, buttery, toasty walnut crumble
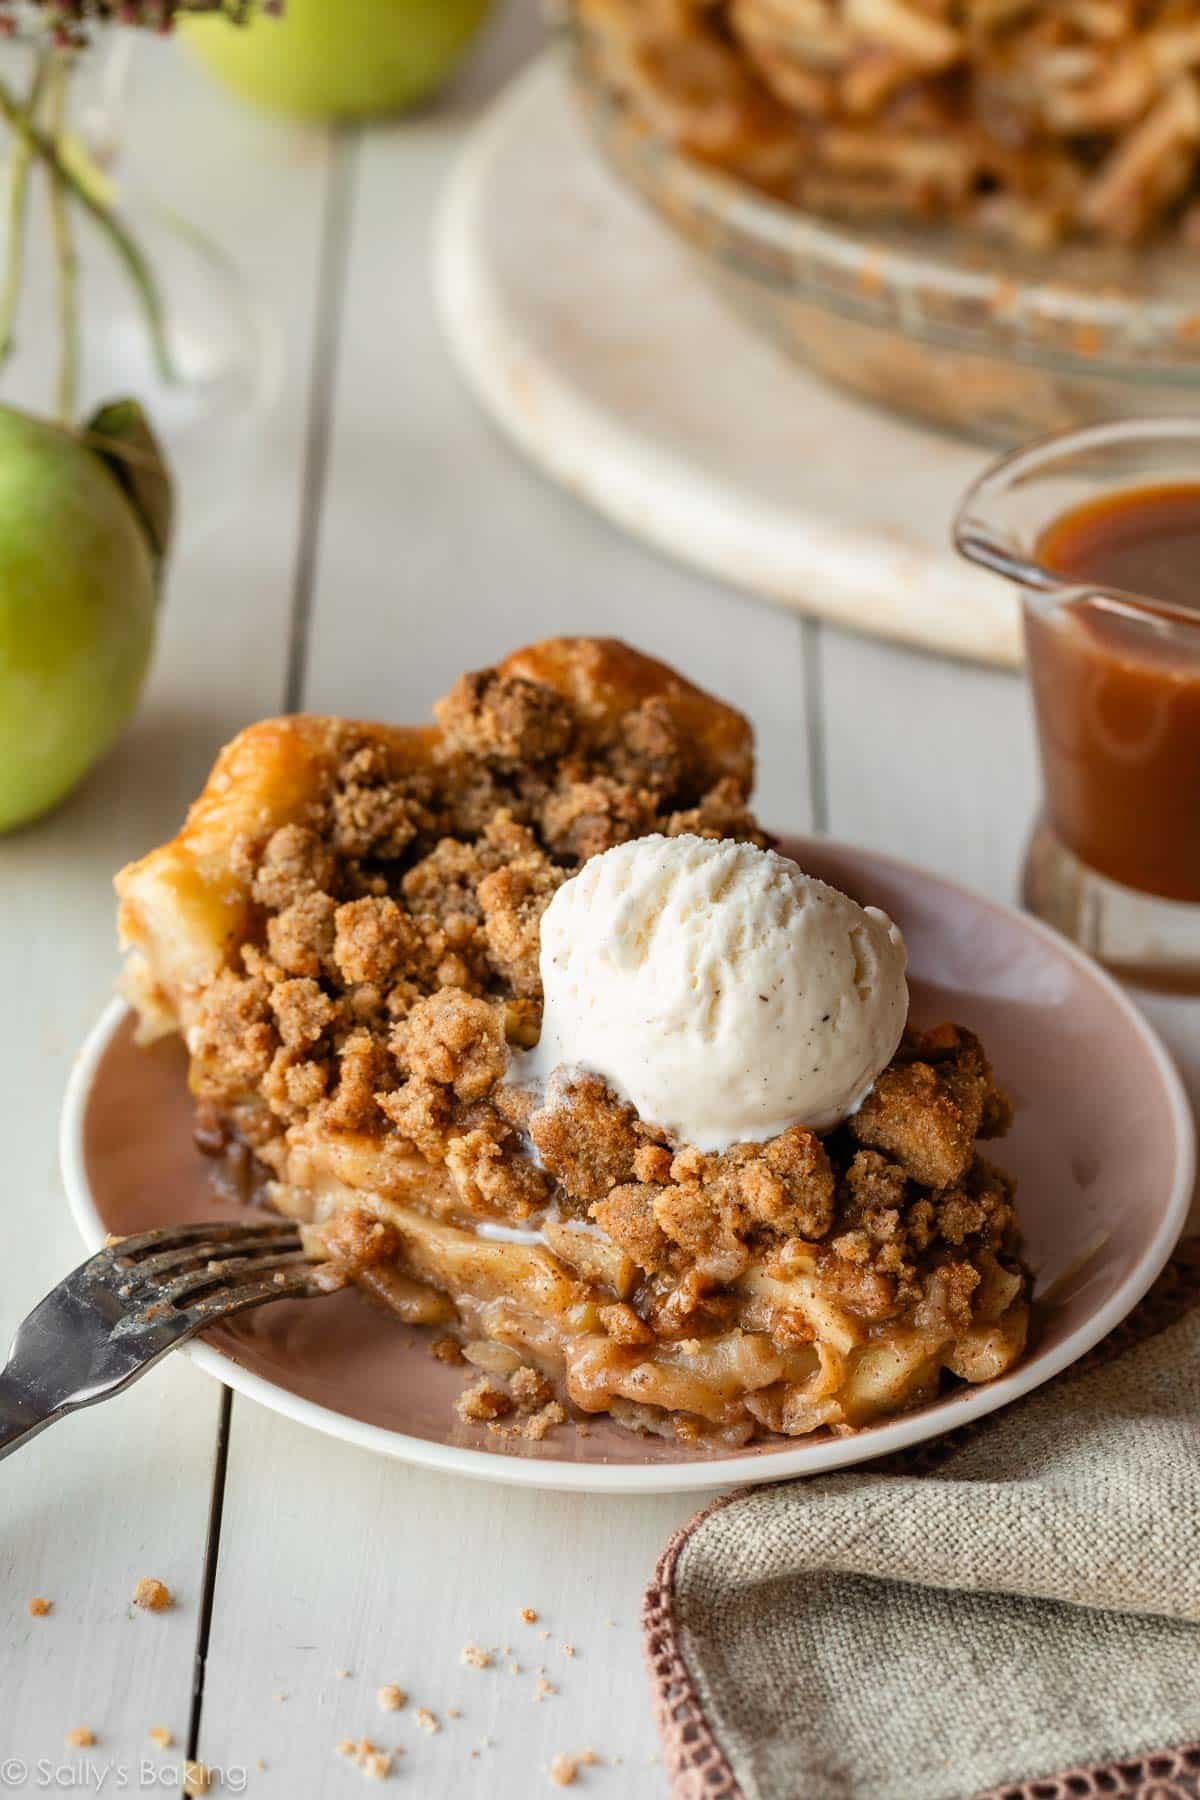
- Is the perfect spot for vanilla ice cream
…and most of all, it’s the best version I know!
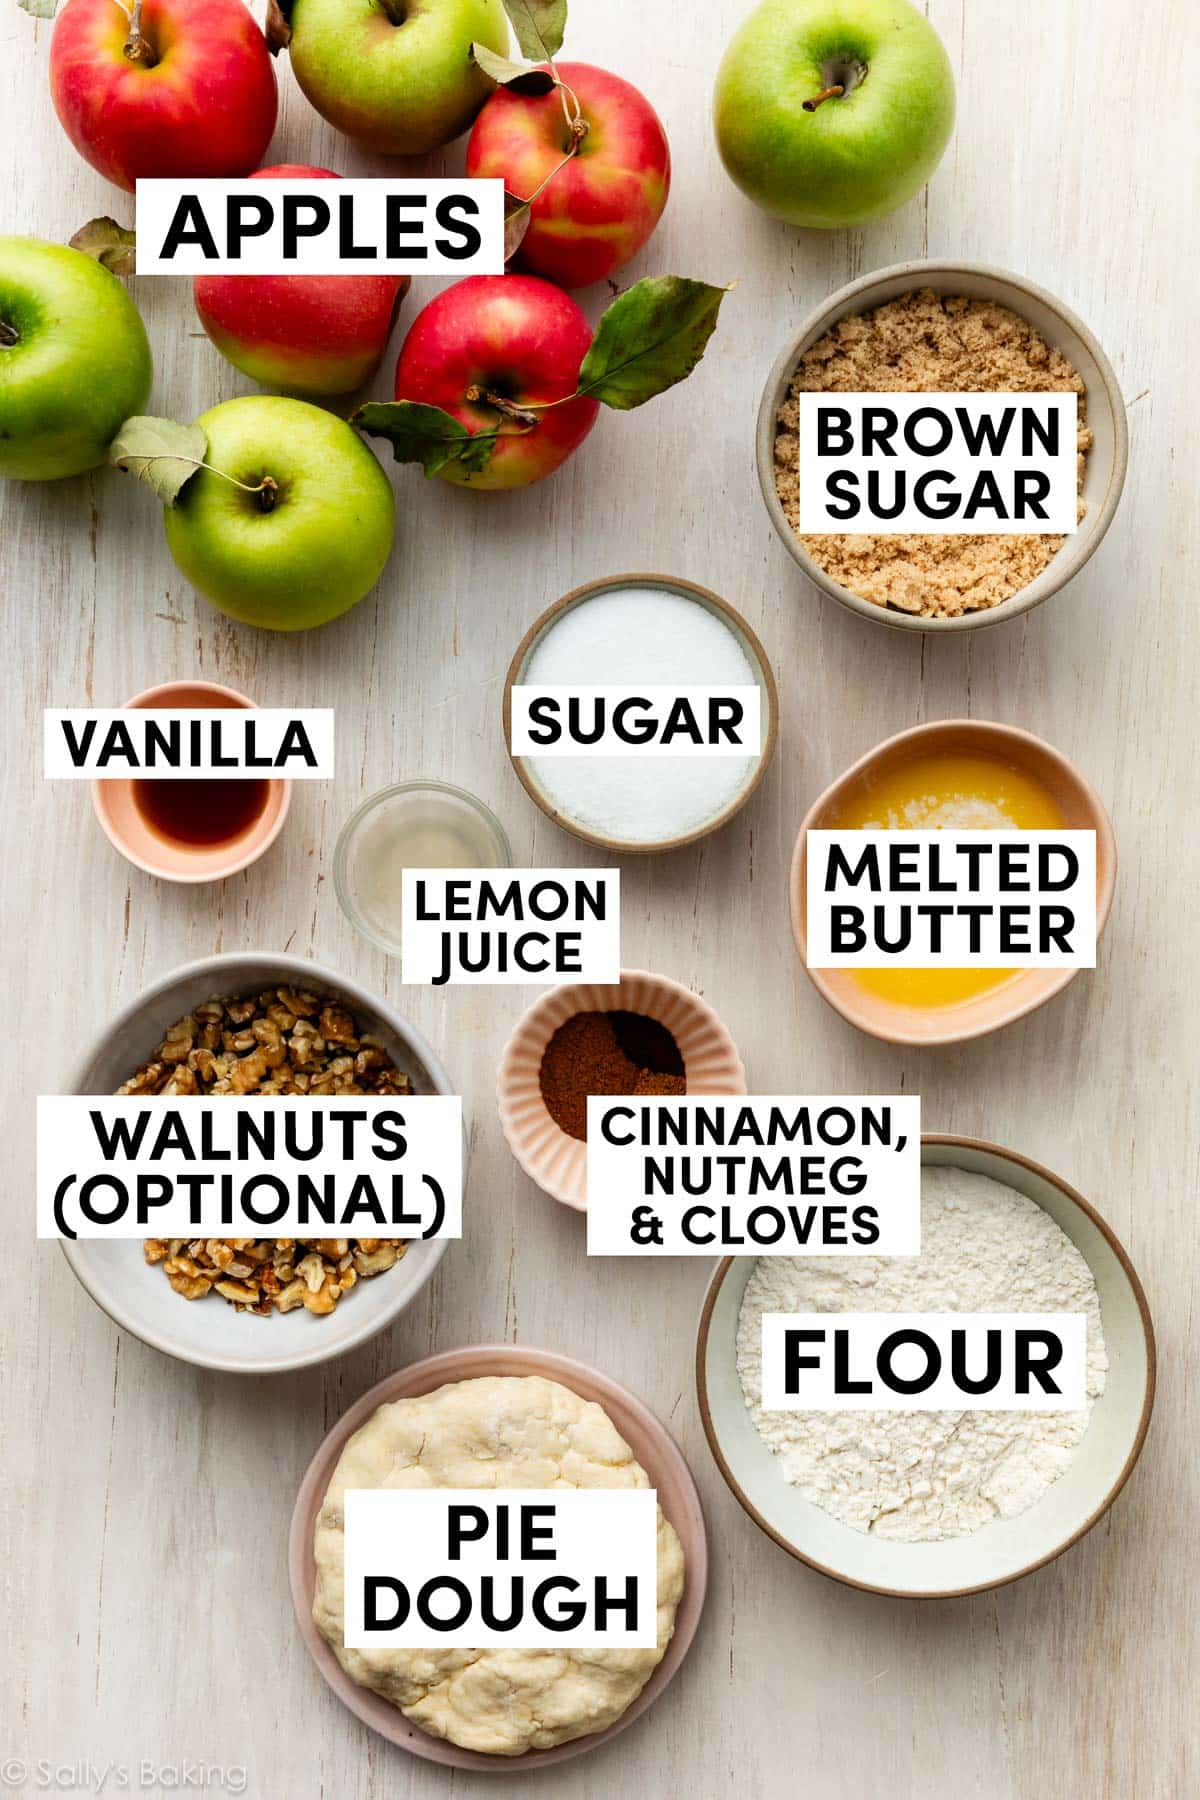
Here’s everything you need to get started:
Start by Making the Pie Dough
Start with the all-butter pie dough. The recipe below makes 1 single crust, so it’s perfect for today’s pie, when we are doing a crumble on top instead of latticing a second crust on top like we do with this salted caramel apple pie.
It’s buttery, flaky, and sturdy enough to hold all those juicy apples. You can also use 1 of the crusts from my flaky pie crust recipe instead (that recipe yields 2 crusts). I like the version below because it yields *slightly* more dough for a single-crust pie. Lots of dough to work with to flute that pretty edge. It’s actually what I use when I make an apple galette.
Make the dough, then chill it before rolling it out and adding the filling.
Crumble Topping
While the dough is chilling, make the crumble topping. You want the crumble topping to also chill in the refrigerator a bit to firm up, so the crumbs hold their shape in the oven.
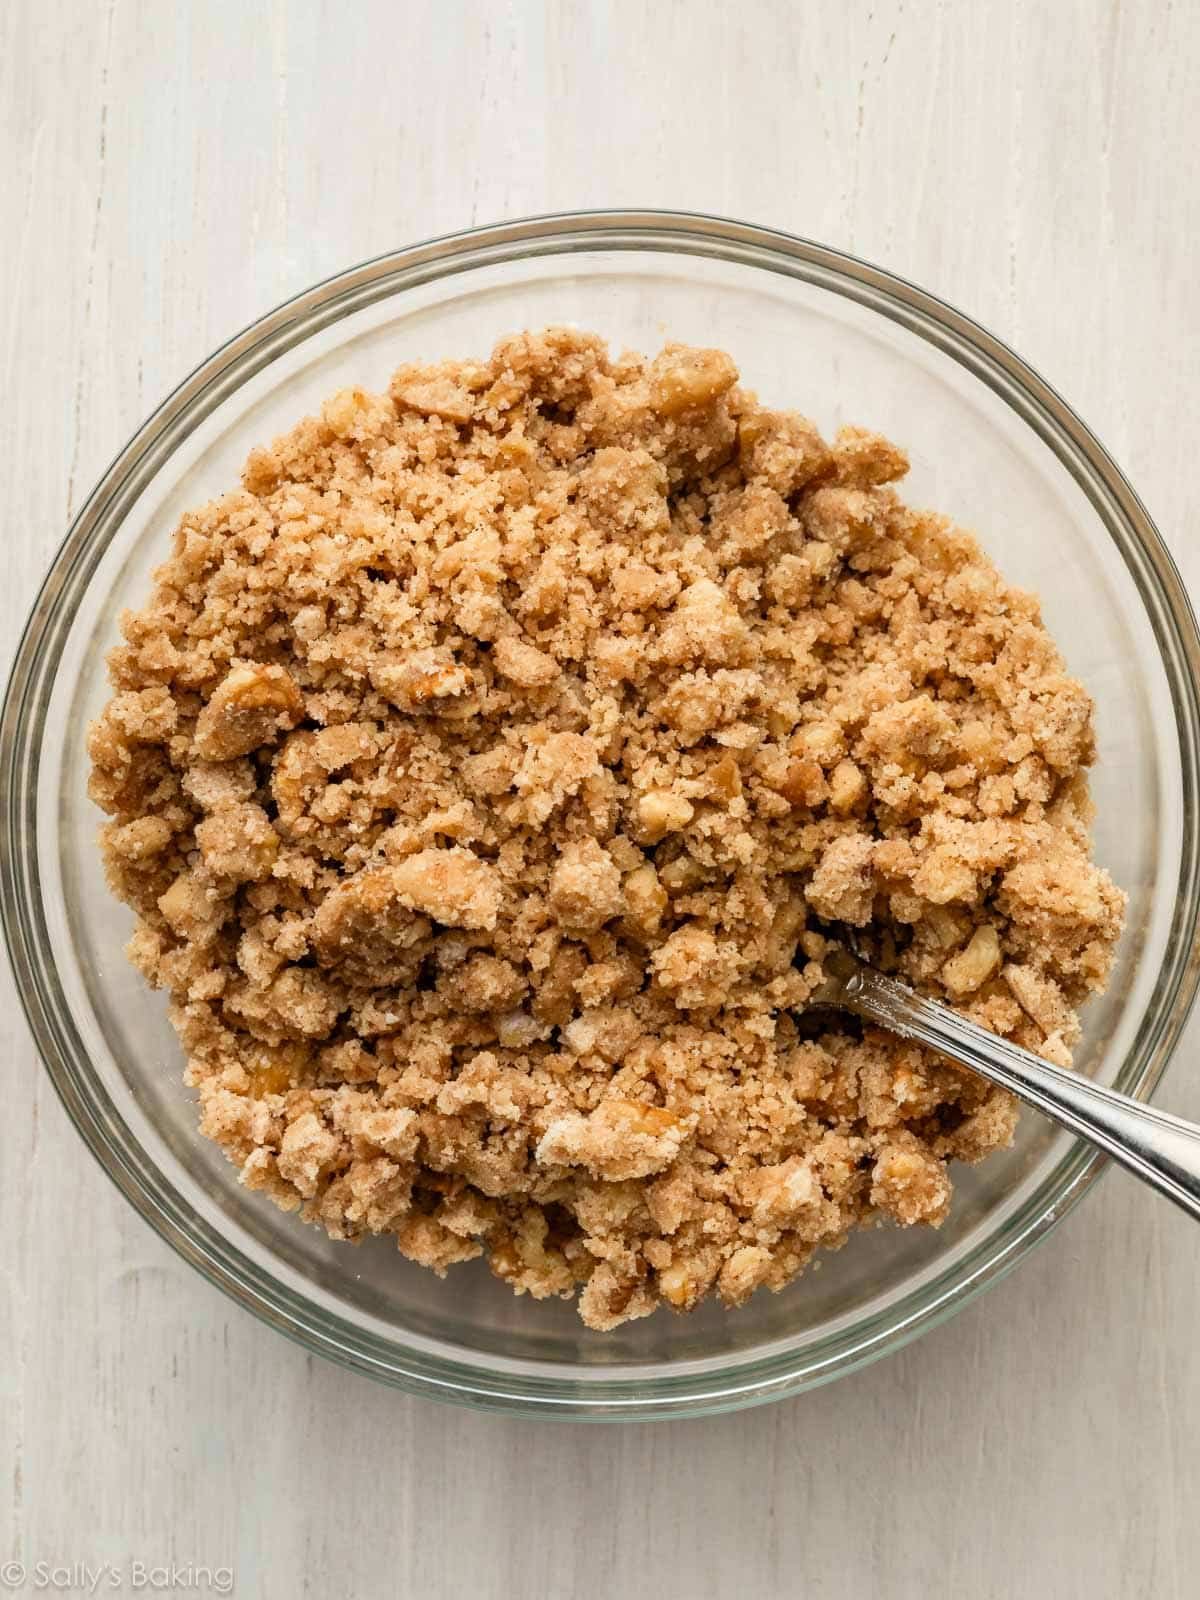
The crumble may look humble, but it’s truly the star here. Brown sugar, flour, cinnamon, melted butter, and walnuts… simple pantry ingredients that bake into something extraordinary!
The walnuts toast in the oven as the pie bakes, adding a warm, nutty crunch that contrasts beautifully with the soft apple filling. If you prefer to skip nuts, use the crumble topping from my apple cranberry crumble pie instead.
Stir the dry ingredients together and then pour melted butter on top. Mix until it looks thick and crumbly—not wet, not sandy. Just like this:
Once your pie dough has chilled for at least 2 hours, roll out the crust and tuck it into a 9-inch pie dish. Flute or crimp the pie dough edges. See my full how to flute pie crust tutorial for all the details.
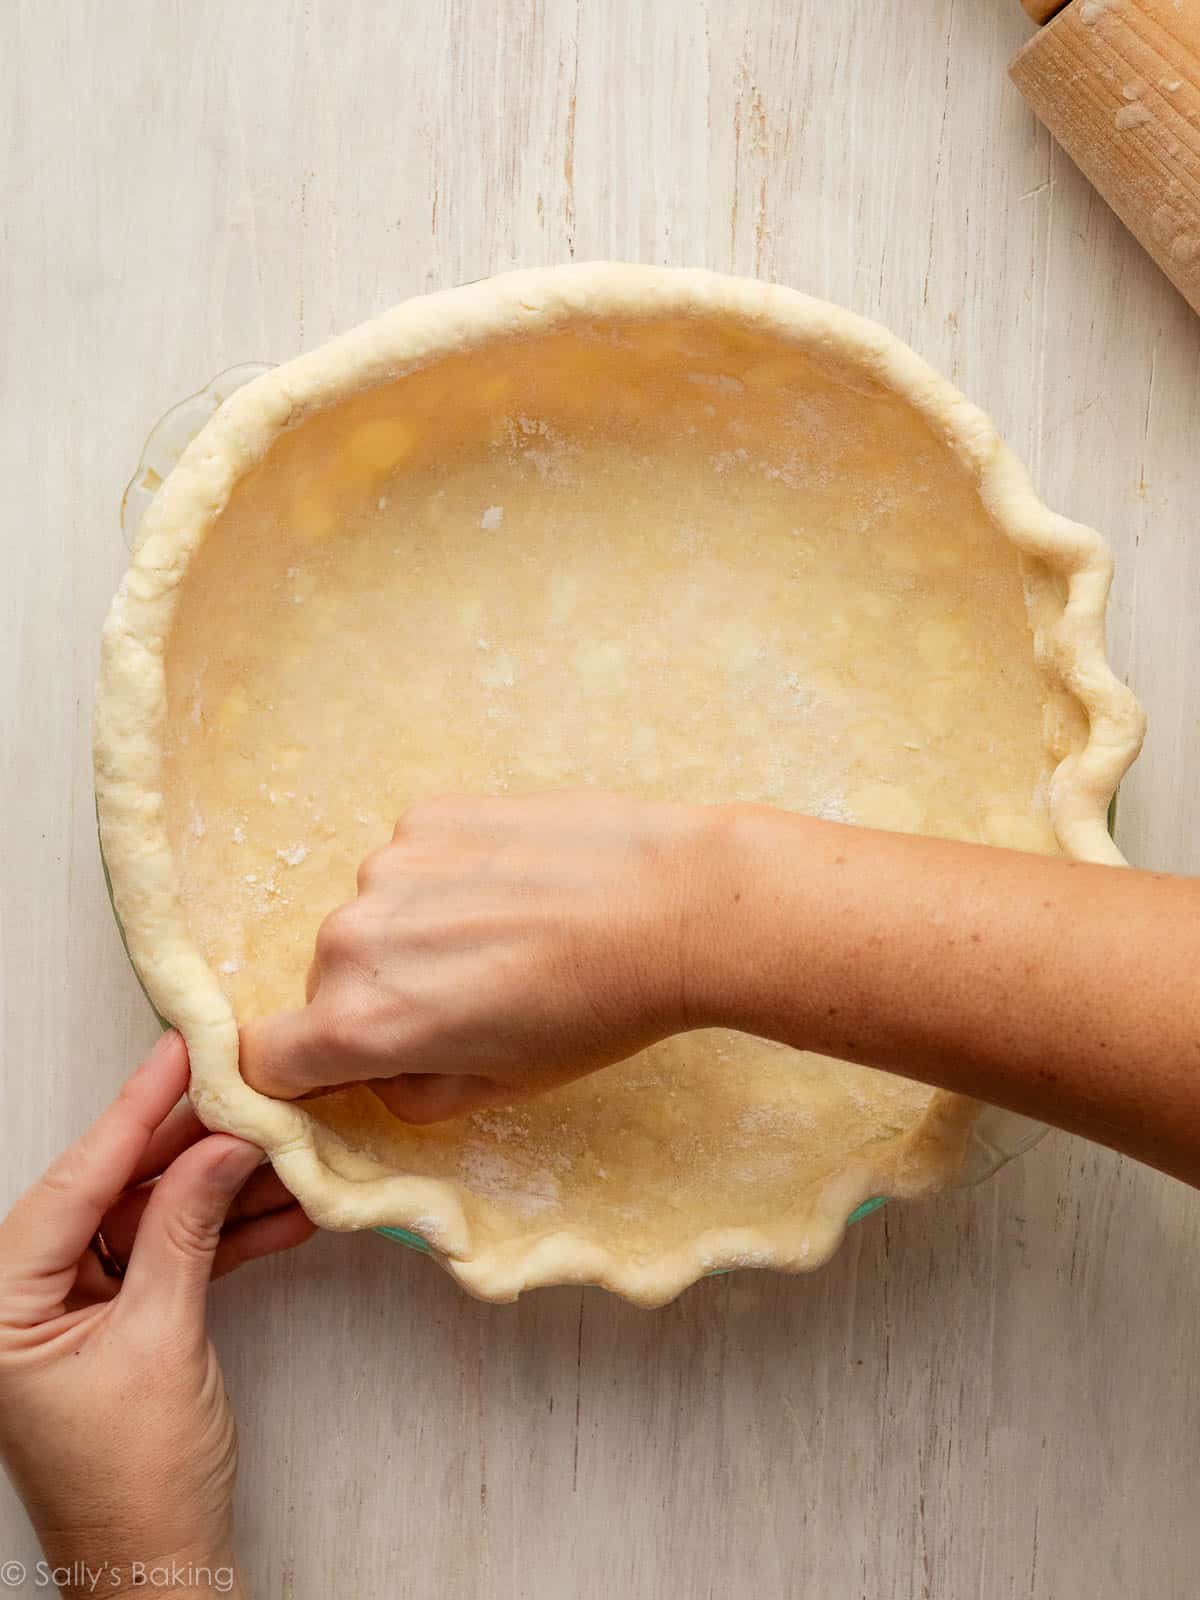
Brush the edges of the crust with egg wash (just an egg beaten together with a little milk), which is key for the crust to develop that beautiful golden sheen when it bakes. Refrigerate the shaped crust while you make the filling.
Apple Pie Filling
This is the easiest part. It’s such a simple, classic mix: apples, lemon juice, sugar, flour, spices, and a bit of vanilla for extra flavor.
I always use a variety of apples for the best flavor. A tart apple like Granny Smith mixed with a sweeter one like Honeycrisp, Fuji, or Pink Lady. That balance of tart and sweet delivers perfect apple pie flavor in every bite. Here is a complete list of the best apples for baking.
My #1 tip: Make sure your apple slices are around the same thickness. You don’t want some super thick apples (that won’t really cook) and some super thin apples (that will become mushy). Aim for around 1/4-inch thickness.
Even slices mean tender apples with just the right amount of bite.
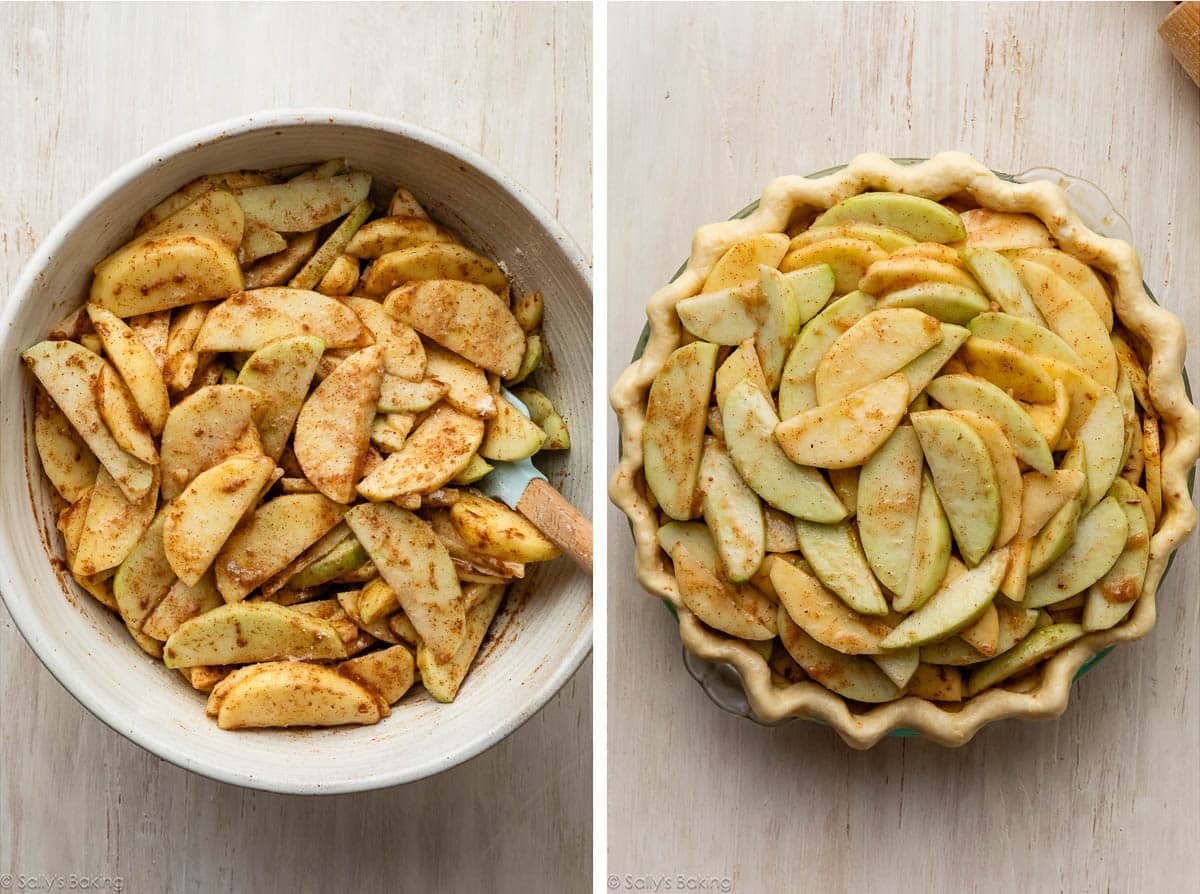
Stir everything together, then spoon it into the crust, trying to make sure there are no big gaps between all the apple slices:
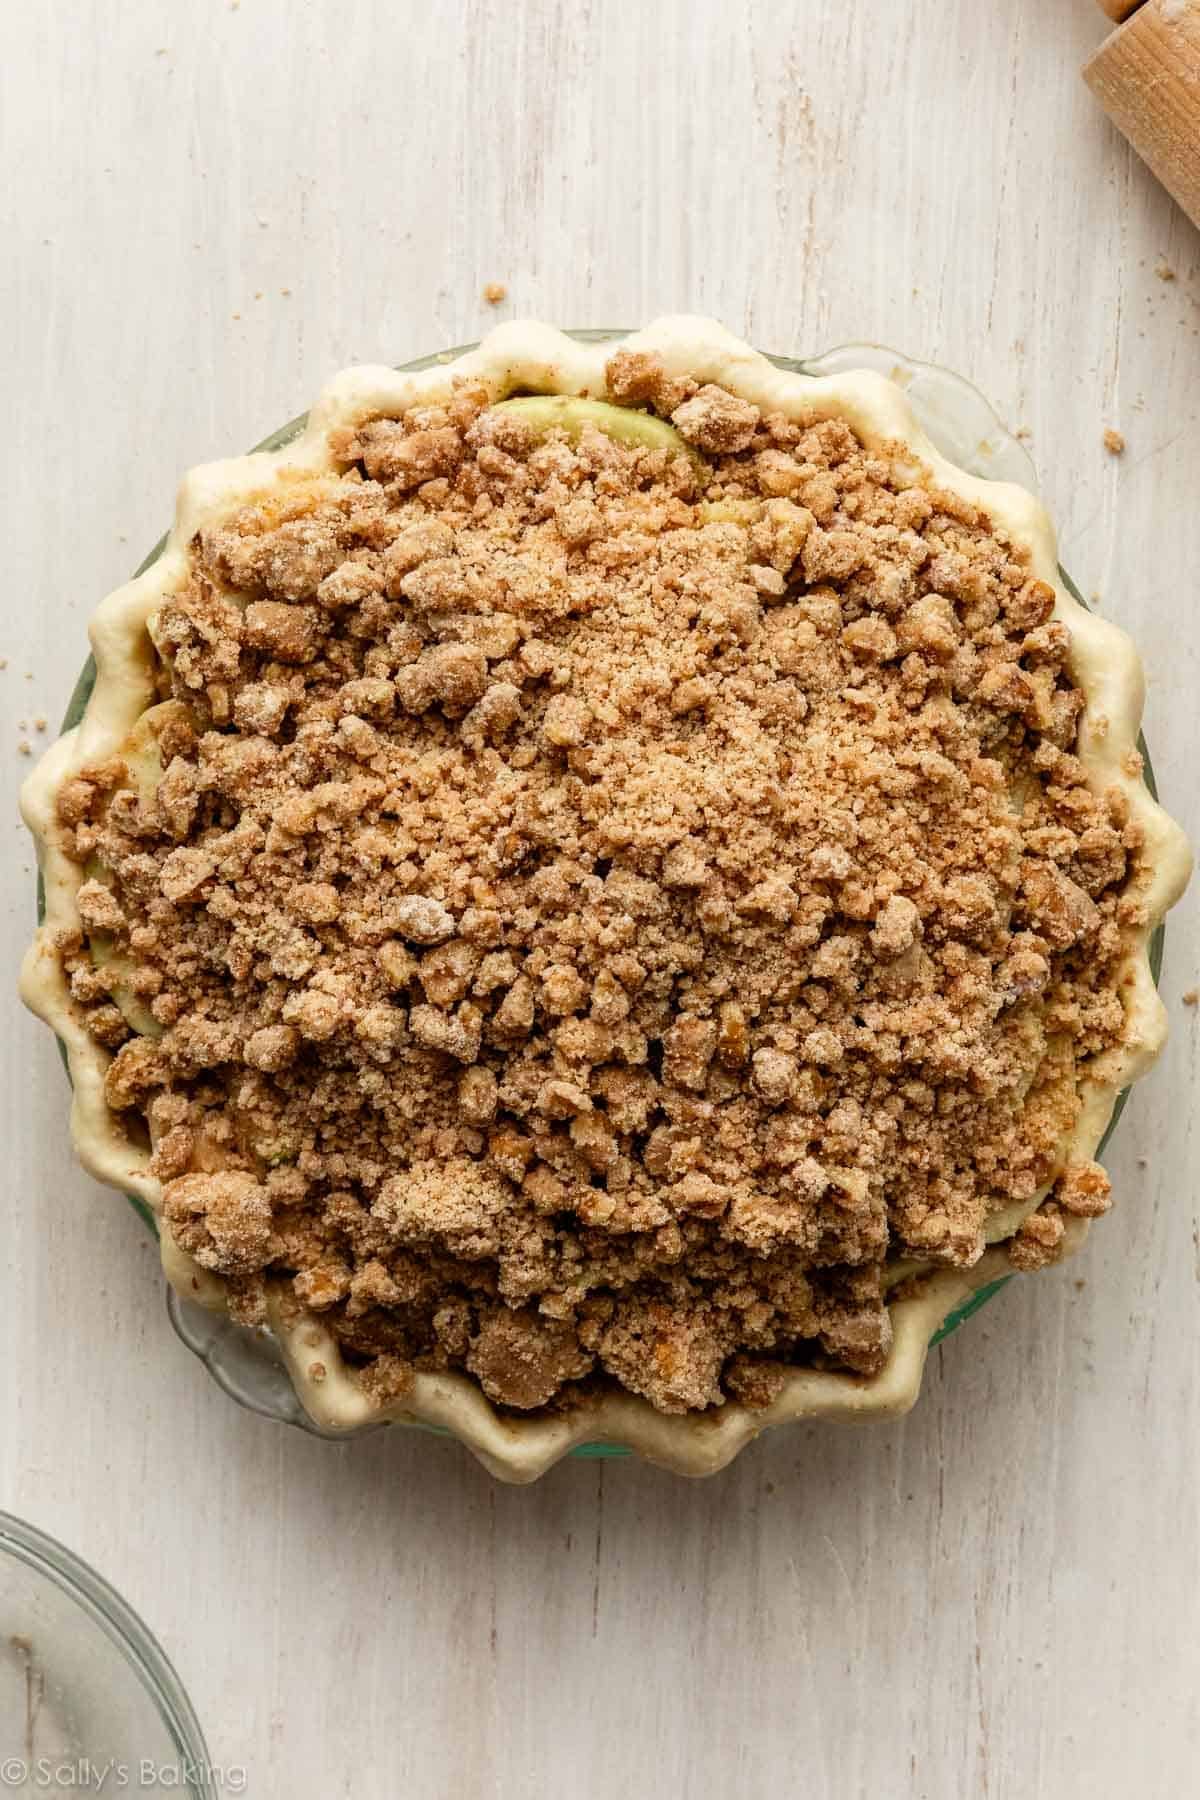
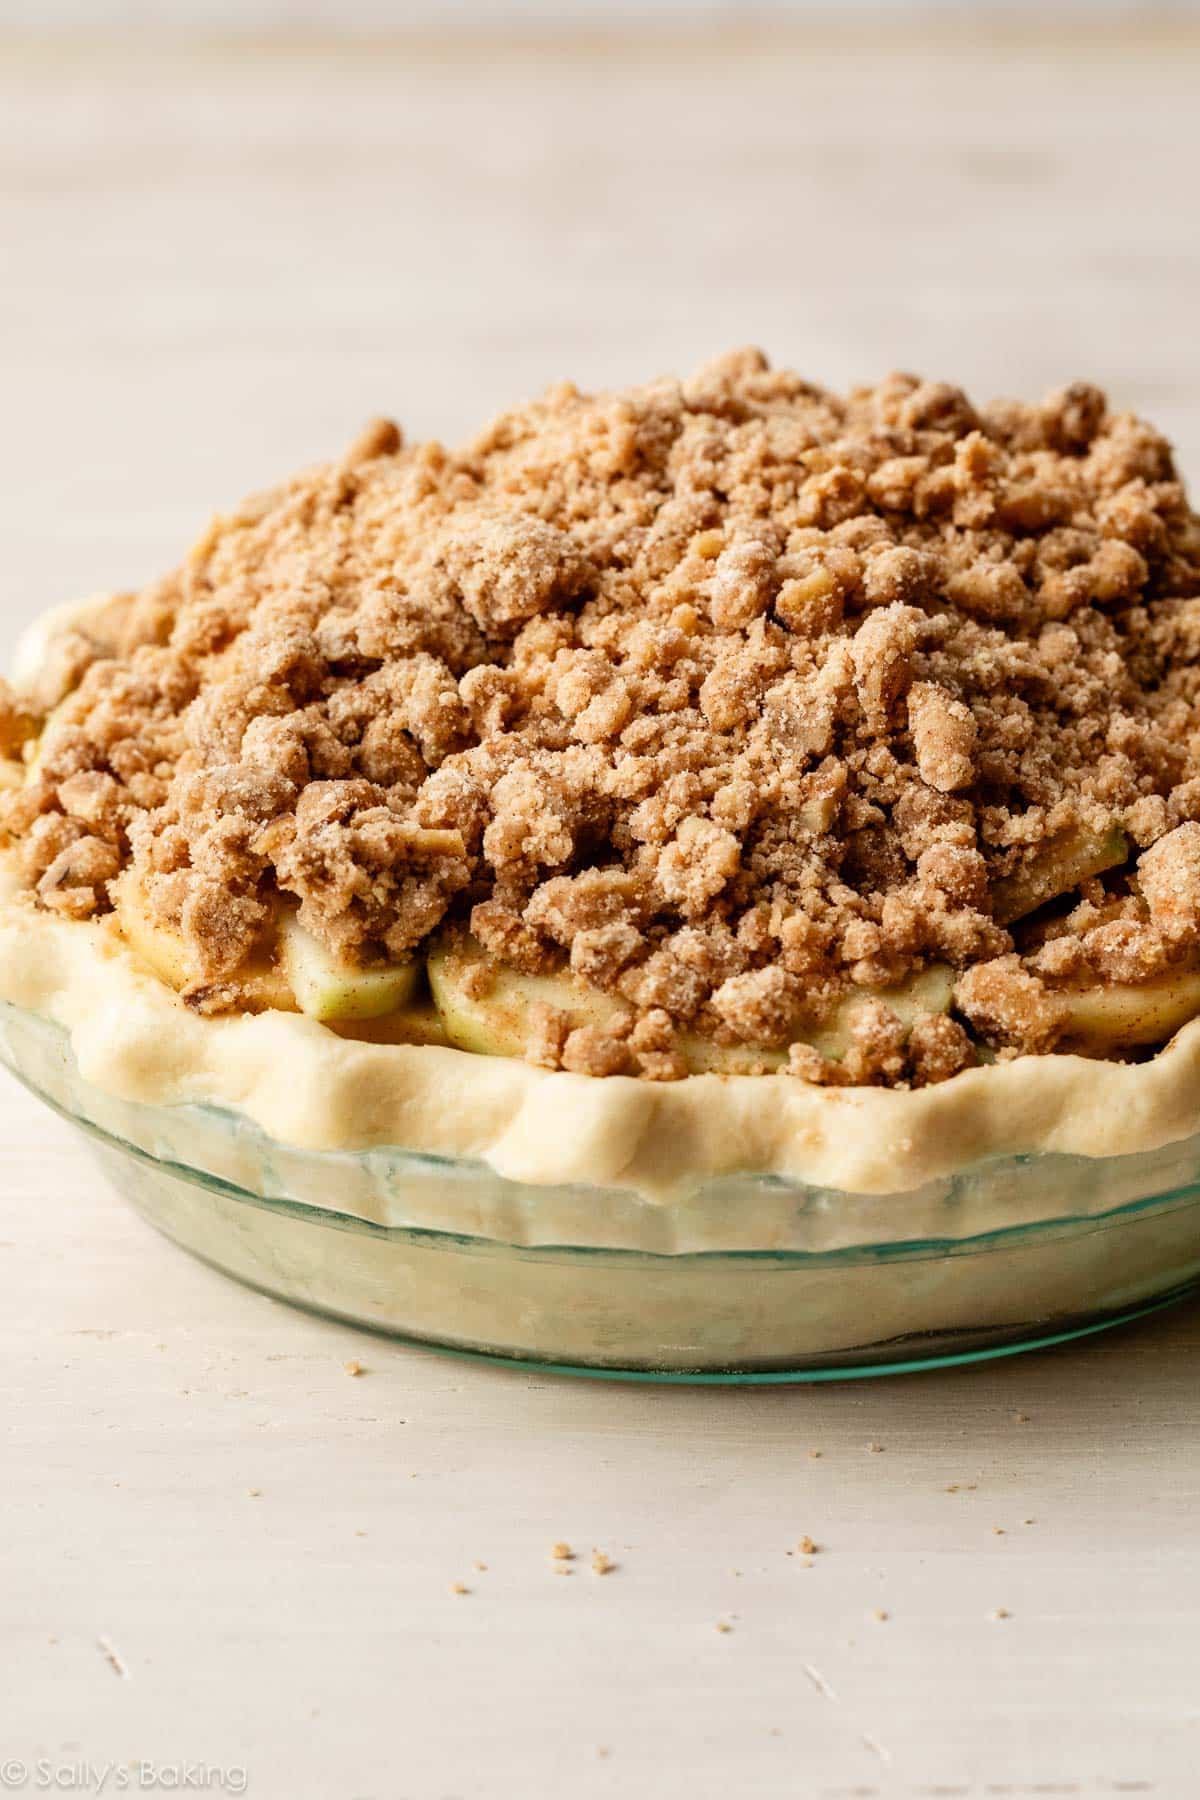
Add the cold crumble topping. It’ll seem like an absolute mountain of topping, but it bakes down perfectly:
Something you’ll notice about the baking instructions for this apple crumble pie: begin baking at a higher oven temperature. Putting a pie into a very, very hot oven helps the crust brown. After 20 minutes or so, reduce the temperature. This allows the pie’s filling to cook thoroughly before the crust burns.
How Do I Know When Apple Crumble Pie Is Done?
A visual cue is helpful when determining the pie’s doneness. If the crust is golden, and the filling is bubbling up around the edges, the apple crumble pie is done. If you want to be precise, the internal temperature of the filling taken with an instant-read thermometer should be around 200°F (93°C) when done.
Before digging in, you’ll have to let the pie cool down. The longer you let apple pie cool, the more the filling will set. I recommend cooling for at least 3 full hours before slicing and serving. I know, it’s nearly impossible to wait!
Looking for an apple pie-like treat in a fraction of the time? Try my apple crisp, apple cobbler, or apple galette instead.
Print
Description
This is a variation of classic apple pie, but instead of a top crust, we’re piling on a thick, buttery brown sugar crumble. This apple crumble pie is the definition of fall comfort, and you don’t need to fuss with a decorative pie crust on top. Make sure to chill each component as directed. Cold pie dough and a cold crumble topping hold their shape much better during baking.
Crust
- 1 and 1/2 cups (188g) all-purpose flour (spooned & leveled), plus more for work surface
- 1 Tablespoon (12g) granulated sugar
- 1/4 teaspoon salt
- 1/2 cup (8 Tbsp; 113g) cold unsalted butter, cubed
- 1/4 cup (60g/ml) ice-cold water, plus more as needed
- egg wash: 1 large egg beaten with 1 Tablespoon (15g/ml) milk
Crumble Topping
- 1/2 cup (100g) packed light or dark brown sugar
- 1 teaspoon ground cinnamon
- 3/4 cup (94g) all-purpose flour (spooned & leveled)
- 3/4 cup (95g) chopped walnuts
- 5 Tablespoons (71g) unsalted butter, melted and slightly cooled
Filling
- 10 cups (1.25kg) 1/4-inch-thick apple slices (about 8 large peeled and cored apples)*
- 1/2 cup (100g) granulated sugar
- 1/4 cup (31g) all-purpose flour (spooned & leveled)
- 1 Tablespoon (15g/ml) fresh lemon juice
- 1 and 1/2 teaspoons ground cinnamon
- 1/4 teaspoon ground cloves
- 1/4 teaspoon ground nutmeg
- 1 teaspoon pure vanilla extract
- Make the pie dough for the crust: In a medium bowl, whisk together the flour, sugar, and salt. Using a pastry cutter or 2 forks, cut in the butter until the mixture resembles coarse pea-sized crumbs. Add the water and stir until the flour is moistened. Add 1–2 more Tablespoons of water if the dough seems dry. Turn the dough out onto a lightly floured work surface and, using your hands, work the dough into a ball. Flatten it into a thick disc. Wrap the dough disc in plastic wrap or parchment paper and refrigerate it for at least 2 hours, and up to 3 days.
- Make the crumble topping: In a medium bowl, combine the brown sugar, cinnamon, flour, and walnuts. Using a silicone spatula, stir in the melted butter. The topping will be thick and crumbly. Place it in the refrigerator while you continue.
- Roll out the chilled pie dough: On a floured work surface, roll out the disc of chilled dough. Turn the dough about a quarter turn after every few rolls until you have a circle 12 inches in diameter. Carefully place the dough into a 9-inch pie dish. Tuck it in with your fingers, making sure it is smooth. Use a small paring knife to trim excess dough off the edges. Flute the pie crust edges and brush them with egg wash. Place the pie crust in the refrigerator.
- Make the filling: In a large bowl using a silicone spatula or wooden spoon, combine the apples, sugar, flour, lemon juice, cinnamon, cloves, nutmeg, and vanilla extract, stirring until the apples are all coated.
- Preheat the oven to 400°F (204°C). Place a baking sheet on the bottom oven rack to catch any juices that may bubble over.
- Spoon the apple filling into the crust, making sure there are no large gaps between the slices. It’s a lot of filling! Sprinkle the cold crumb topping evenly over the top of the apples.
- Bake for 20 minutes. Add a pie crust shield to prevent the edges from browning too quickly, and reduce the oven temperature to 375°F (191°C). Bake for an additional 35 to 45 minutes or until the crust is golden brown and juices are bubbling around the edges. If needed toward the end of bake time, remove the pie crust shield and tent a large piece of aluminum foil over the entire pie if the crumb topping is getting too brown.
- Allow the pie to cool for at least 3 full hours at room temperature before serving. This time allows the filling to thicken up. Serve with vanilla ice cream and salted caramel sauce, if desired. Cover leftover pie and store in the refrigerator for up to 5 days.
Notes
- Make Ahead & Freezing Instructions: This a great pie to make 1 day in advance—after it cools, cover tightly and keep at room temperature. The pie crust dough can also be prepared ahead of time and stored in the refrigerator for up to 5 days or in the freezer for up to 3 months. Baked and cooled pie freezes well for up to 3 months. Thaw overnight in the refrigerator and allow to come to room temperature before serving. Prepared filling can be frozen for up to 3 months; thaw overnight in the refrigerator before using.
- Special Tools (affiliate links): Glass Mixing Bowls | Silicone Spatula or Wooden Spoon | Pastry Cutter | Rolling Pin | 9-inch Pie Dish | Pastry Brush | Apple Peeler | Pie Crust Shield | Cooling Rack
- Apples: You need about 8 large apples. Peel then slice apples in a uniform thickness, about 1/4 inch thick. You don’t want some solid apples and some thin, mushy apples. For best flavor, use a variety of apples such as Granny Smith, Honeycrisp, Fuji, and/or Pink Lady. If you’re interested, check out this post: Here Are the Best Apples for Baking.
- Aluminum Foil Pie Crust Shield: You can purchase a pie crust shield or make one from aluminum foil. Cut a 14-inch square of aluminum foil. Fold in half. Cut out a 5-inch semi-circle on the folded edge. Unfold. Carefully fit the aluminum foil over the pie crust edges, securing down on the sides as best you can (careful, the pie is hot!), leaving the center of the pie exposed.
- Update in 2025: After a decade of baking this pie, we’ve made a few small improvements. The original version used half of a double-crust pie dough, fewer apples (8–10 cups), and 2 Tbsp lemon juice. The updated recipe now uses a single all-butter pie crust, slightly more apples, and less lemon juice. If you prefer the original method, make this pie crust recipe (saving the second half for another pie), reduce apples to 8–10 cups, and increase the lemon juice to 2 Tbsp.
